Get in Pooshies—we’re going to shave our faces.
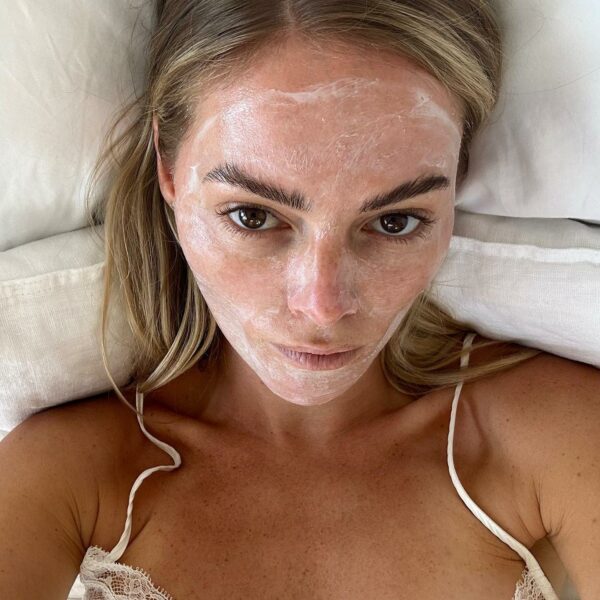
Dermaplaning (aka dermablading or microplaning) is a physical exfoliation method.
“Dermaplaning is a non-invasive skin care procedure that uses a sharp, single-edge blade to remove dead skin cells and facial hair,” explains Kerry Benjamin, founder of StackedSkincare. “The blade is used on clean, dry skin on the forehead, cheeks, chin, nose and neck.”
This procedure can be done in a professional setting, but there are also ways to do it at home. That said, there are mixed opinions on whether a DIY approach to dermaplaning should be attempted.
Obvs, anything involving a blade close to your face should be done with caution. “Dermaplaning, especially when done incorrectly, can cut the skin and allow bacteria inside. Although your skin might feel incredibly soft and smooth on Day One, it may develop signs of inflammation, ingrown hairs, and breakouts,” says Odacite founder Valerie Grandury, who recommends using a face scrub to physically exfoliate.
But others say that dermaplaning can be cautiously done at home with the understanding that it will differ from a professional treatment in several ways.
“We use a surgical-grade, 10-blade tool that is incredibly sharp,” says Christina Uzzardi, esthetician and founder of Cheeks & Co Spa. “We incorporate this service in a complete facial, but the dermaplaning itself takes a full 20 minutes and covers every portion of the face and neck. And that’s by a skilled technician, so doing it at home would take much longer with less effect. But if done properly, dermaplaning at home is a great addition to your routine,” she adds.
So today, we asked Benjamin and Uzzardi to each lay out their steps for the at-home process.
First, some quick housekeeping:
– Choose the right tool. Benjamin says that the tool she designed for dermaplaning is different from others on the market, having a sharper, non-irritating blade that can be used four to five times (just be sure to properly sanitize it after every use). Our wellness editor swears by this tool. Uzzardi, however, prefers disposable blades.
– Avoid dermaplaning if you are experiencing a breakout, skin irritation, cold sores, sensitivity, or any skin ailment,” Uzzardi says. “Dermaplaning disrupts your skin barrier and should not be done when your barrier is compromised in any way, as it will lead to further irritation and can spread disease.”
– Avoid sun exposure, harsh exfoliants, and retinol for a few days after dermaplaning.
How to dermaplane from Kerry Benjamin, founder of StackedSkincare:
1. Cleanse and dry skin. This allows you to remove the maximum amount of dead skin and peach fuzz (aka vellus hair).
2. Ensure you have a good grip on the handle with your index finger firmly on the metal piece just before the blade
3. Hold the razor at a 45-degree angle to your face and pull the skin taut behind it. Use gentle strokes with very light pressure, moving in either downward or upward strokes to remove the dead skin and peach fuzz.
4. Start on your cheeks, and then move to your forehead. Replace the blade with our precision blade for around the brows, nose, and lips.
5. After finishing, I recommend applying our TCA Face Peel followed by serums and moisturizer.
(You can see Benjamin’s steps in action in this video.)
How to dermaplane from Christina Uzzardi, esthetician and founder of Cheeks & Co Spa:
1. Prep your skin with a thorough cleanse, and then apply a lightweight oil before your start to ensure the best outcome.
2. You’ll want to dermaplane your skin in sections, starting with the forehead and moving down the face. Hold your skin taught between your thumb and index fingers. Position the blade at a 45 degree angle on your skin.
3. Using light strokes, move the blade up and down 3 – 5 times over each section on your forehead, cheeks and jawline, and sides of neck, making sure to do small areas at a time.
4. Next, carefully move to the areas around your nose (bridge and sides) and lips.
5. Finish by applying a light toner or hydrating mist with a cotton pad to remove any excess dead skin, and apply your favorite nourishing skincare products. Don’t forget SPF!